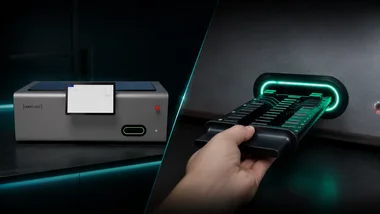
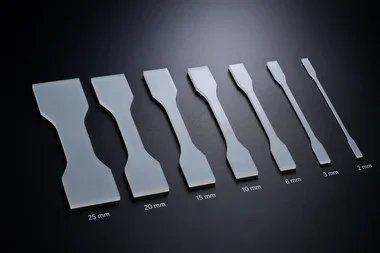
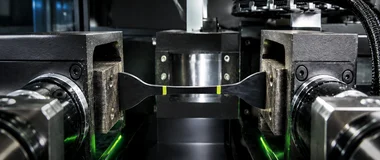
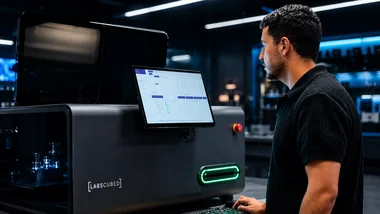
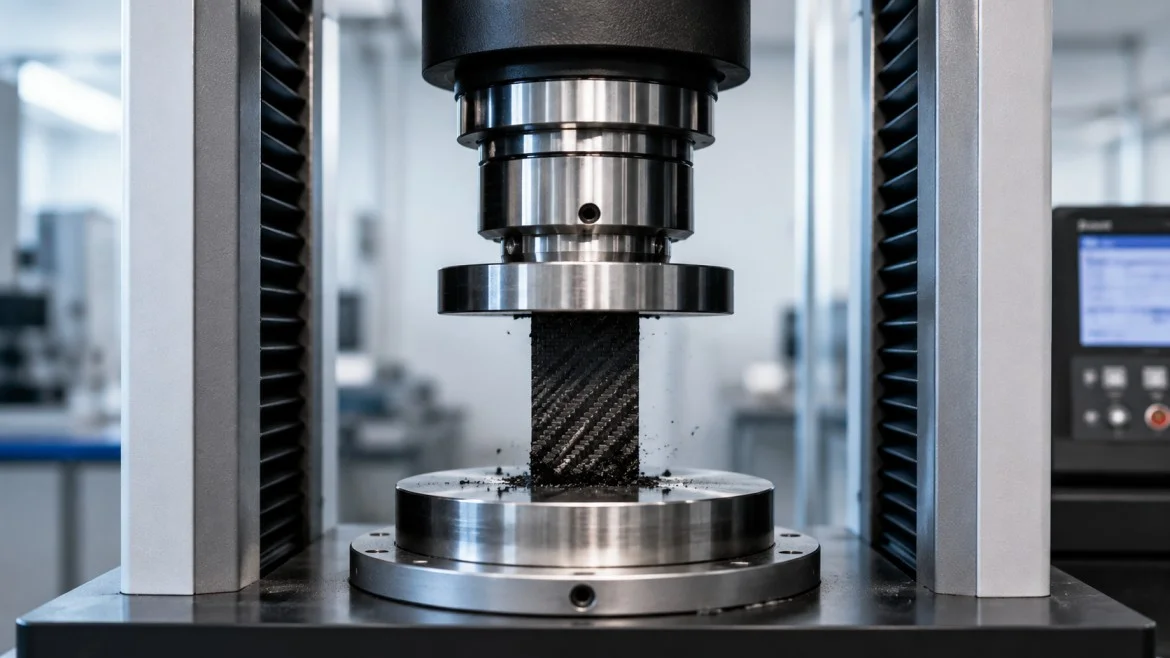
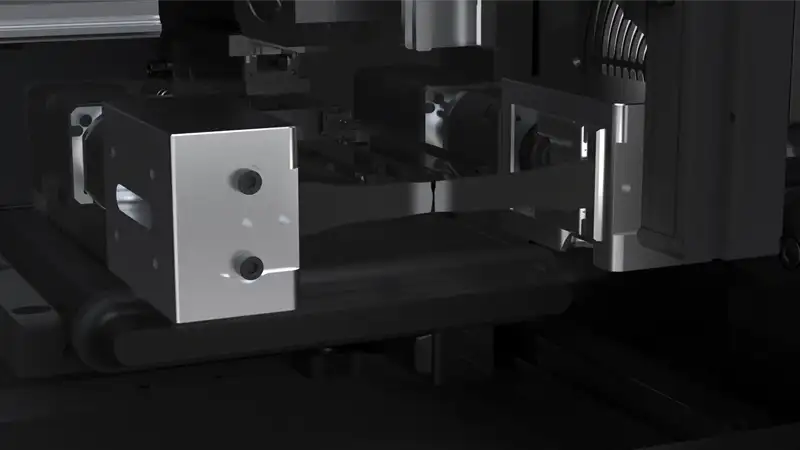
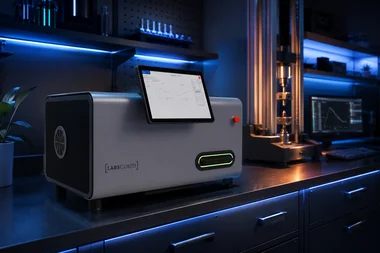
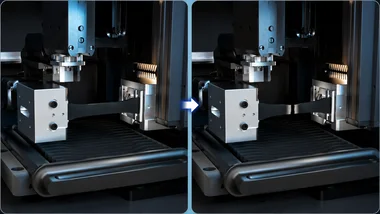
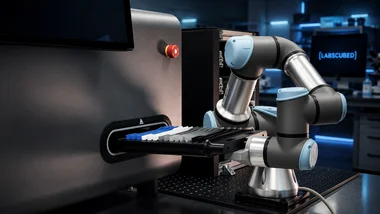
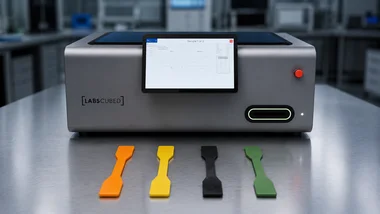
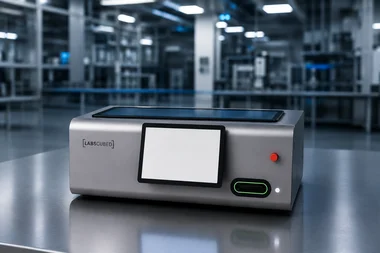
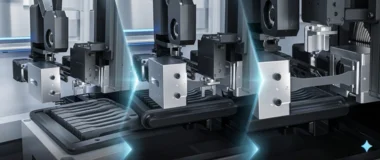
A tensile strength tester is a mechanical instrument that pulls a specimen apart under controlled load until it yields or fractures, then reports tensile strength, elongation, and modulus. For a plastics or rubber QA lab, the more important question in 2026 isn't what a tester does — it's how much operator-to-operator variability it introduces. LabsCubed's CubeOne and high-throughput CubeTen systems automate specimen handling and grip alignment, so results are repeatable across shifts and operators, not just within one technician's notes.
What is a tensile strength tester?
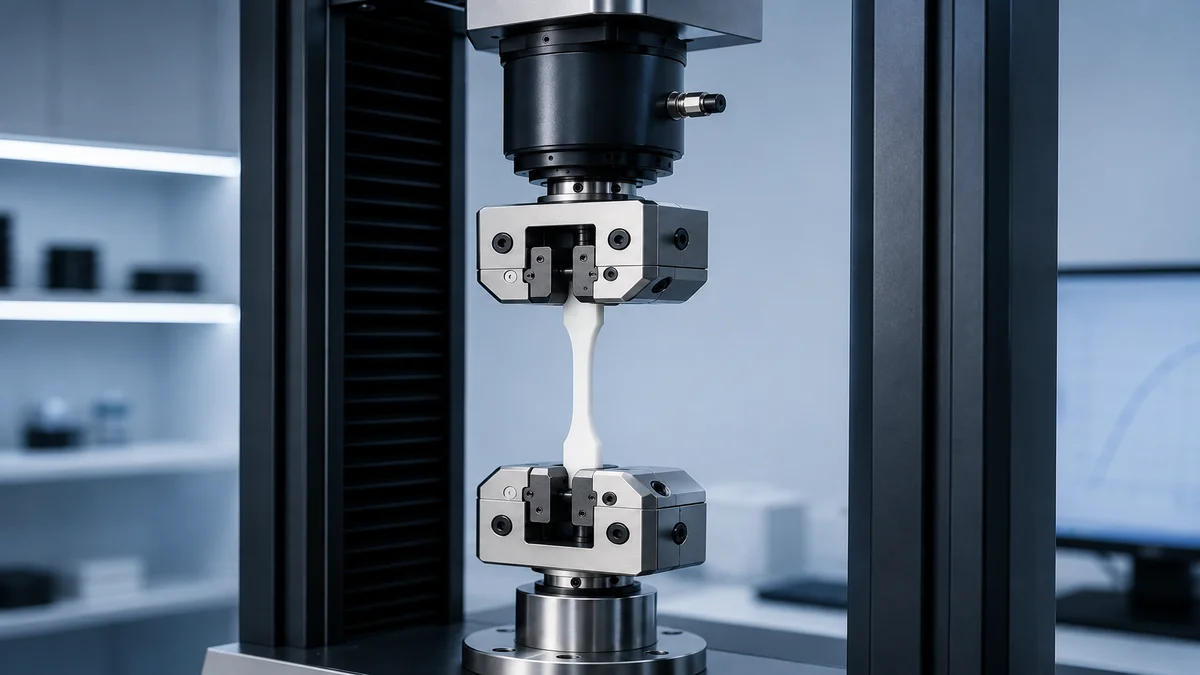
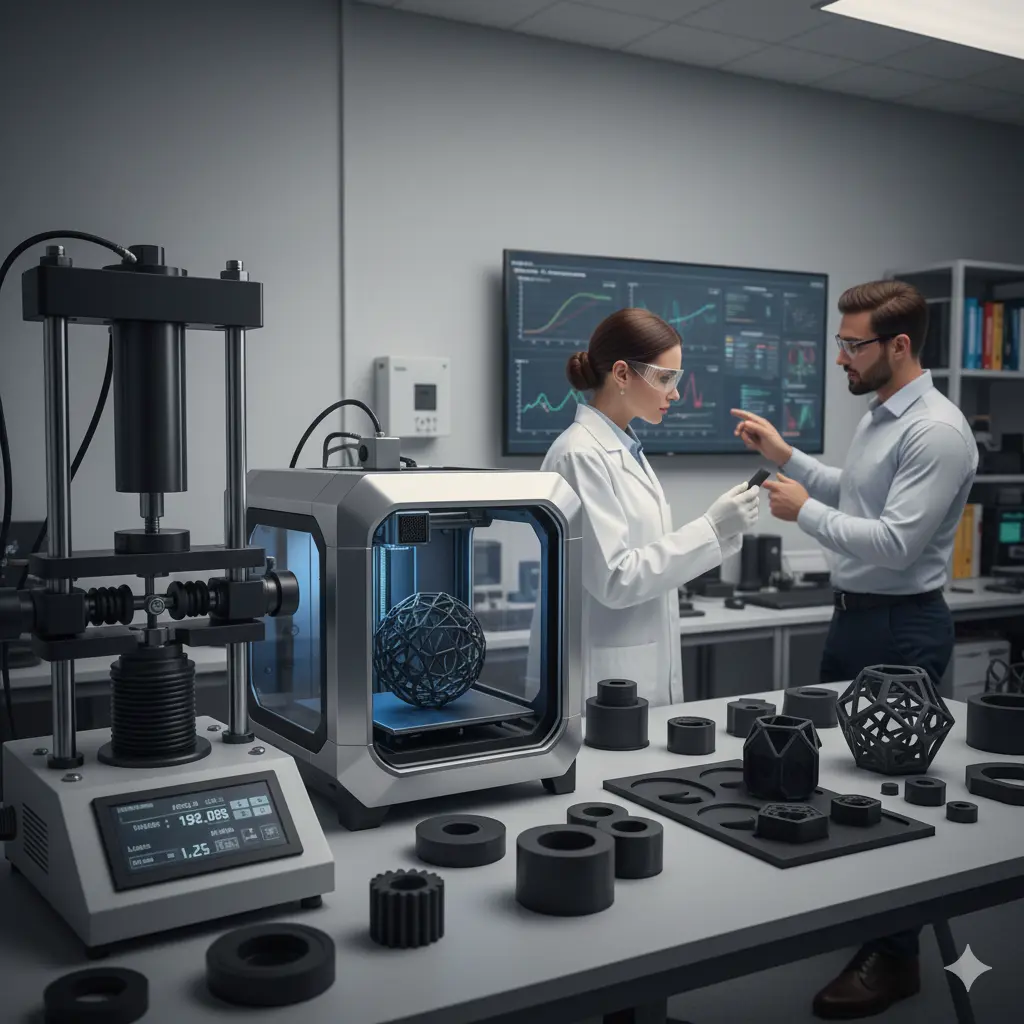
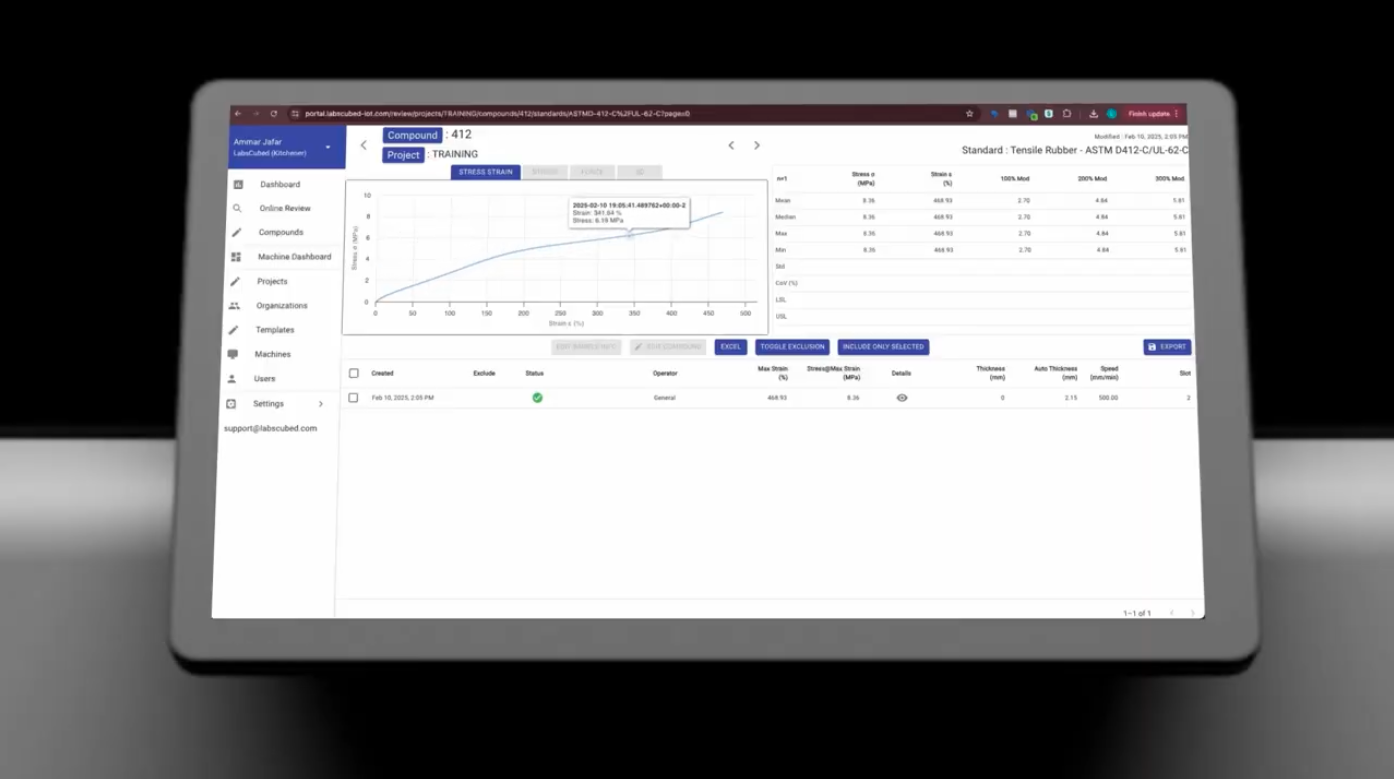
A tensile strength tester is a load-frame instrument that applies a uniaxial pulling force to a specimen and records load and displacement until failure. The system uses a load cell to measure force, an extensometer or crosshead encoder to measure strain, and grips to hold the sample in line with the load axis. Output is a stress-strain curve, from which the lab extracts ultimate tensile strength, yield strength, modulus of elasticity, and elongation at break.
In practice, the term covers two different categories. Bench-top "tensile testers" are compact, single-axis systems used for routine QC on plastics, films, rubber, and textiles. Full universal testing machines (UTMs) are larger frames that also run compression, flexure, and shear. The right choice depends on capacity, the standards you run (typically ASTM D638 / ISO 527, ASTM D412, or ASTM D3039), and whether you need to automate the workflow around the frame.
What does a tensile strength tester measure?
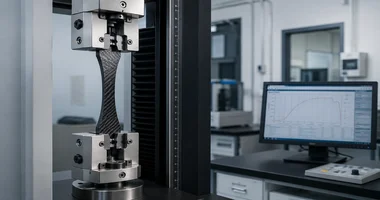
A tensile strength tester measures four primary properties: ultimate tensile strength (the peak stress before failure), yield strength (the stress at which the material starts to deform plastically), elastic modulus (the stiffness in the linear region), and elongation at break (the ductility). Each value is read from the stress-strain curve generated during the test.
Secondary outputs depend on the standard and the specimen. For plastics under ASTM D638, the tester also reports Poisson's ratio and proportional limit when extensometers are fitted on both axes. For rubber under ASTM D412, it reports tensile stress at specific strains (M100, M300). For composites under ASTM D3039, it reports failure mode and strain-at-failure. The instrument is the same — the calculation rules differ by standard, which is why test method libraries inside the software matter as much as the hardware.
How does a tensile strength tester work?
A tensile strength tester works by clamping a specimen between two grips, moving the crosshead at a constant rate, and recording force and displacement until the specimen breaks. A typical test takes 30 seconds to a few minutes per specimen. The software converts force to stress using the cross-sectional area you enter, and displacement to strain using either the gauge length or a contact or non-contact extensometer.
The procedure usually follows five steps: specimen prep (cutting and conditioning), measurement (thickness and width at three points), loading into the grips, running the test method, and reviewing the result against the spec. The first three steps are where most of the operator-introduced variability lives — bad alignment, uneven grip pressure, or sloppy measurement can shift a result by 5–10% without the software ever flagging an issue. That's the problem automated systems solve.
Manual vs. automated tensile strength testers: which should you buy?
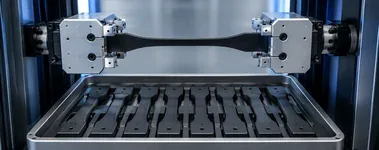
Buy a manual tensile strength tester if you run fewer than 20 specimens per week, you don't have to defend repeatability across operators in audits, and your spec sheet rarely changes. Buy an automated system if you run high-volume QC, have multiple operators per shift, or need to keep up with a production line. Automation reduces operator-to-operator variability, frees a technician to do higher-value work, and produces an audit-grade trail by default.
Manual tensile strength tester
Recommended CubeOne / CubeTen
Specimen loading
Hand-loaded; alignment depends on operator
Robotic loading with vision-guided grip alignment
Width / thickness measurement
Manual calipers; logged separately
Inline laser or vision; logged to the specimen record
Throughput per shift
~15–30 specimens
Up to 3× more, depending on workflow
Operator variability
Typically 5–10% test-to-test
Down to load cell + extensometer repeatability
Audit trail
Paper logs or manual exports
Time-stamped photos, dimensions, raw data, operator ID
Unattended operation
The comparison is the core of the buying decision in 2026. The frame itself — load cell, crosshead, software — has commoditized across vendors. What separates a $20K manual UTM from a fully automated cell is the workflow around the frame, not the frame itself. For deeper coverage of how this plays out on the shop floor, see our guide to automated tensile testing.
What key features should I look for when buying a tensile strength tester?
Look for a load cell rated 1.5–2× your highest expected break load, a crosshead speed range that covers every standard you run, interchangeable grips for the materials you test, and a software stack that ships with the test methods you need. Then, separately, evaluate whether the platform supports automation — robotic specimen handling, inline measurement, and an open data API — even if you don't need it on day one.
Load capacity with headroom — a 5 kN frame is too small once you start testing thicker plastics or reinforced composites.
Grip flexibility — wedge for rigid plastics, pneumatic for film and rubber, capstan for thread and yarn.
Extensometer options — contact for routine QC, video for samples that fail in the gauge length.
Software libraries for ASTM D638 / ISO 527, D412, D3039, plus your customer-specific methods.
Open data export — CSV is the floor; an API for LIMS integration is the ceiling.
Automation-ready hardware — tool-changers, robot mounts, vision interface, and a control bus a third-party cell can drive.
If automation is in your three-year roadmap, the worst outcome is buying a closed manual frame and discovering later that bolting a robot onto it costs more than the frame did. Most plastics and rubber labs we work with end up here within 18 months of buying a manual system — see how that pattern plays out in robotic material testing.
How much does a tensile strength tester cost?
A new tensile strength tester typically costs $10,000 to $160,000 for a manual UTM, depending on load capacity, software, and grips. A fully automated testing cell — frame plus robotic specimen handling, inline measurement, and integrated software — typically runs $150,000 to $400,000. Per-test cost on a manual system averages about $155 when you include labor, calibration, and re-tests; automated cells push that lower as throughput rises.
Three line items drive the total:
Frame and load cell — usually 40–60% of a manual system, less of an automated one.
Grips and fixtures — easy to underestimate. A full set for plastics + rubber + composites can add $15,000–$30,000.
Software and integration — small for a single-method lab, large for a lab that runs 20+ methods and needs LIMS or ERP integration.
For a full picture of ROI on an automated cell, the automation vs. manual testing white paper walks through the labor, throughput, and re-test math we use with customers.
What ASTM and ISO standards does a tensile strength tester cover?
A tensile strength tester covers ASTM D638 / ISO 527 for plastics, ASTM D412 / ISO 37 for rubber and elastomers, ASTM D3039 for fiber-reinforced composites, ASTM E8 / ISO 6892 for metals, and ASTM D882 for thin films. Each standard prescribes specimen geometry, conditioning, grip type, crosshead rate, and how to calculate the reported values. The tester is hardware; the standard is the recipe the software runs.
If your lab serves multiple industries, make sure the system you choose ships with the standards already validated, not as a "we can write that for you" promise. Custom method development is where projects quietly slip three months. For the deep dive on the most common plastics method, see our ASTM D638 / ISO 527 guide; for rubber, see ASTM D412 / ISO 37 for rubber.
Common mistakes when buying or running a tensile strength tester
The most expensive mistakes are made at purchase, not during the test itself. Two patterns repeat in plastics and rubber labs we audit:
Sizing the frame to today's load, not tomorrow's. A 5 kN frame is enough for unfilled thermoplastics; add glass fiber or move to thicker geometry and you're back in the market within two years.
Treating grips as an afterthought. Wrong grip type is the single biggest source of slippage and false breaks. Buy the grip set for the materials you actually test.
Skipping the extensometer. Calculating strain from crosshead displacement is fine for go/no-go QC; it's wrong for any modulus or yield-strain reporting.
Buying a closed software stack. If you can't export raw load and displacement data, you can't audit a disputed result or feed a LIMS.
Ignoring operator variability. Most labs blame the material when results drift; a Gauge R&R study almost always points back to grip alignment and specimen prep.
Skipping calibration cadence. Annual calibration is the minimum; high-throughput labs should re-verify quarterly.
Frequently asked questions
What is a tensile strength tester?
A tensile strength tester is a mechanical instrument that pulls a specimen apart under controlled load until it yields or breaks, measuring force and displacement throughout. It reports ultimate tensile strength, yield strength, elastic modulus, and elongation at break. In QA labs it's used to confirm that incoming materials and finished parts meet ASTM, ISO, or customer-specific specs before they ship.
How can tensile strength be tested?
Tensile strength is tested by cutting or molding a specimen to a standardized geometry, conditioning it, clamping it in grips on a load frame, and pulling at a constant crosshead rate until failure. The software records force and elongation and calculates stress and strain. ASTM D638 governs plastics; ASTM D412 governs rubber; ASTM D3039 governs composites; ASTM E8 governs metals.
How much does a tensile strength test cost?
A single outsourced tensile test typically costs about $155, depending on standard, specimen prep, and turnaround. Bringing testing in-house with a manual UTM runs $10,000 to $160,000 for the equipment; a fully automated cell runs $150,000 to $400,000. Per-test cost falls sharply with automation once volume passes about 200 specimens per month.
What is the ASTM test for tensile strength?
The ASTM test depends on the material. ASTM D638 is the dominant standard for rigid and semi-rigid plastics; ASTM D412 covers vulcanized rubber and thermoplastic elastomers; ASTM D3039 covers polymer-matrix composites; ASTM E8 covers metals; ASTM D882 covers thin plastic film. Each standard prescribes the specimen geometry, conditioning, grip type, crosshead rate, and reporting rules the tester must follow.
What is the difference between a tensile strength tester and a universal testing machine?
A tensile strength tester is purpose-built for pulling tests; a universal testing machine (UTM) can also run compression, flexure, and shear with the right fixtures. Most modern frames sold as "tensile testers" are technically UTMs configured for tension only. If you'll ever need compression or flex testing, buy the UTM up front — retrofitting an entry-level pull-only frame is rarely cost-effective.
Can a tensile strength tester be automated?
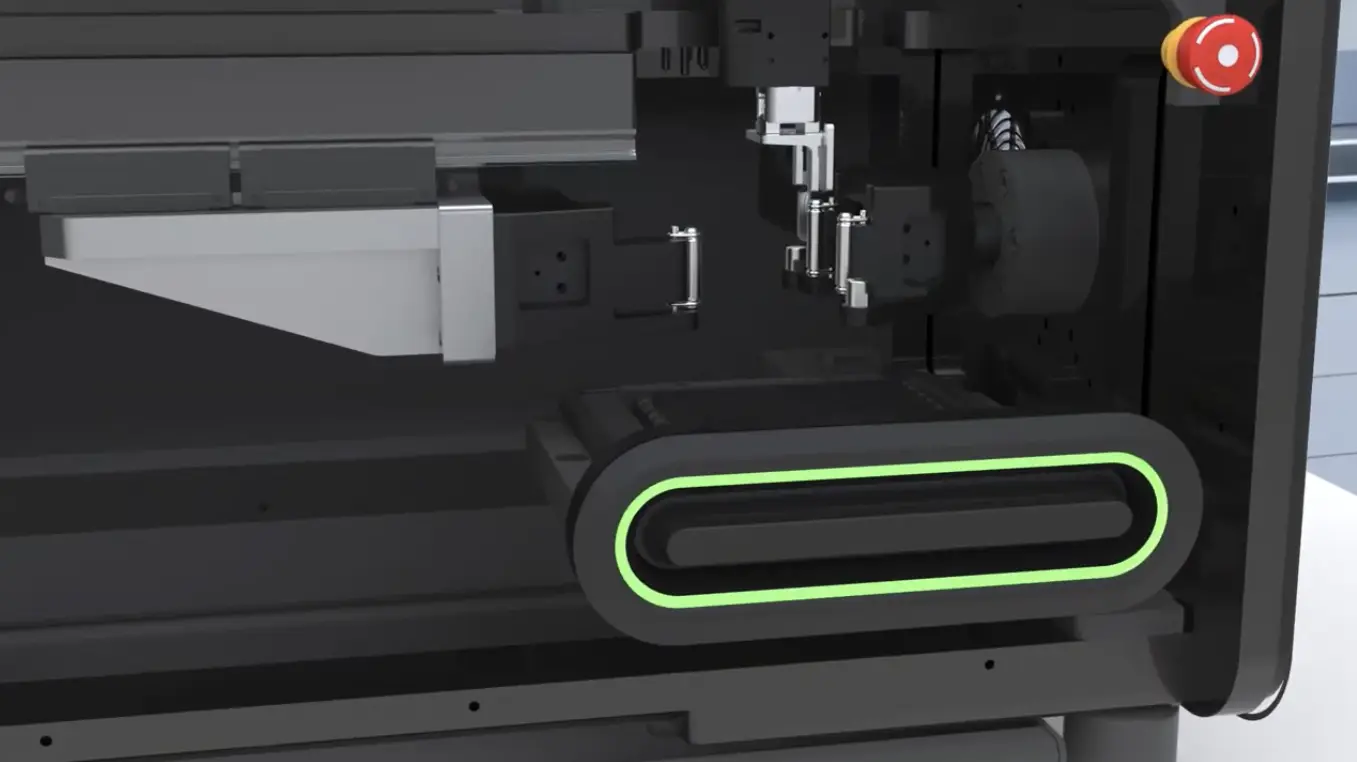
Yes. Automated cells add robotic specimen handling, inline width and thickness measurement, vision-guided grip alignment, and unattended batch operation. Platforms like LabsCubed's CubeOne automate a single frame; CubeTen scales the same workflow to high-throughput production environments. Automation typically increases throughput by up to 3× and reduces operator-to-operator variability to the repeatability of the load cell and extensometer.
Next steps
If you're scoping a tensile strength tester for a plastics or rubber QA lab, start by listing the standards you run, your weekly specimen count, and how many operators touch the workflow. That's enough to decide whether you're buying a manual frame, an automation-ready frame, or a full cell.
Scoping a tensile strength tester for your lab?
Book a 20-minute walkthrough of CubeOne and CubeTen. We'll bring your standards, your materials, and your numbers.
The LabsCubed team builds robotic tensile testing systems used by plastics, rubber, and composite QA labs across North America. We specialize in reducing operator-to-operator variability and turning manual UTM workflows into audit-grade automated cells.
More expert insights and practical solutions to advance your material testing expertise.
Tensile Testing
Lab Automation
6 min read
Automated Rubber Tensile Testing Machines: A Guide for High-Volume Testing Labs
Learn how automated rubber tensile testing machines improve throughput, repeatability, and ASTM D412 compliance in modern testing laboratories.
Tensile Testing
Lab Automation
9 min
Universal Testing Machine: Complete Guide to Specifications, Applications & Automation
Learn how a universal testing machine works, what tests it performs, key specifications to evaluate, and how automation improves materials testing workflows.
Testing Standards
9 min
Tensile Test of Composite Materials: A Practical Guide
Tensile test of composite materials made simple: specimen prep, fixtures, standards, and how automation cuts variability. See the guide and run cleaner tests.
Lab Automation
9 min
Universal Testing Machine for Rubber: 2026 Buyer Guide
Choose a universal testing machine for rubber: grips, force ranges, and automated workflows that cut variability. See how LabsCubed automates rubber QA.
Testing Standards
9 min
ASTM D3039: How to Test Composite Tensile Properties
ASTM D3039 measures composite tensile properties. See specimen prep, grips, automation, and how Cube cuts variability. Get a demo from LabsCubed today.
Tensile Testing
Lab Automation
7 min read
Robotic Material Testing: The Complete Guide to Automating Your Lab
Learn how robotic material testing improves throughput, repeatability, and data traceability in plastics, rubber, and composite laboratories.
Tensile Testing
Lab Automation
6 min read
Automated Tensile Testing: How Labs Cut Cycle Time Up to 85%
Learn how automated tensile testing improves throughput, repeatability, and data traceability in plastics, rubber, and composite testing labs.
Tensile Testing
Lab Automation
6 min read
Composite Material Testing: Methods, Standards, and Automation
Learn the key composite material testing methods, ASTM standards, and how automation improves throughput, repeatability, and data quality.
Tensile Testing
Lab Automation
6 min read
Tensile Testing Machine Guide for Plastics & Rubber Labs
Learn how to choose the right tensile testing machine for plastics and rubber, and how automation improves throughput and repeatability.
Polymer tensile test guide: ASTM D638, ISO 527, dog-bone specimens, common mistakes, and how automation cuts operator variability. Get the full procedure.
Learn polymer mechanical testing methods, ASTM standards, and how automated systems like LabsCubed's Cube reduce variability in plastics and rubber QA labs.
Lab Automation
9 min
Lab Automation Robotics for Plastics and Rubber QA Teams
Robotic lab automation is changing how plastics and rubber QA labs operate. Learn how to automate ASTM tests, cut variability, and scale testing throughput.
Tensile Testing
Testing Standards
4 min
How to Choose Plastics Tensile Testing Equipment
A practical guide for QA labs on choosing plastics tensile testing equipment—covering force range, grips, standards, and when automation pays off.
Tensile Testing
Lab Automation
4 min read
ASTM D638 Automated Testing: Run 3× More Specimens Per Day
Learn how automated ASTM D638 testing systems help plastics labs triple specimen throughput, eliminate grip errors, and run tests unattended overnight.
Lab Automation
4 min read
Materials Testing Automation: How Plastics and Rubber Labs Run 3× More Tests Per Shift
Discover how materials testing automation helps plastics and rubber labs reduce manual errors, triple throughput, and meet ASTM standards — without adding headcount.
Flexure Testing
5 minutes
ASTM D790/ISO 178 Explained: Everything You Need to Know About Plastic Flexural Testing
Mastering ASTM D790 & ISO 178: Why the Future of Flexural Testing is Horizontal
Stop wasting time on manual grip changes and calibration. Learn the essentials of plastic flexural testing and discover how CubeFlex is revolutionizing the lab with automated, horizontal 3-point bending.
Lab Automation
10 min
Fatigue Testing in Rubber Compounds: Understanding Long-Term Performance
Explore the fundamentals of fatigue testing for rubber compounds, from traditional to 3D printed materials. A guide for materials engineers and lab managers on ensuring long-term performance and durability.
Data
9 min
How Temperature and Humidity Affects Tensile Strength in Plastics
Discover how environmental conditions like temperature and humidity impact the tensile strength of plastics, including 3D printed parts. Essential insights for R&D managers and lab supervisors in plastics testing.
Data
7 min
Understanding the Numbers: Tensile Data Collection and Saving Time with Automation
This article explains the importance of understanding and utilizing tensile testing data for better material selection. It highlights how raw test data, particularly the stress-strain curve, provides crucial material properties like ultimate tensile strength, yield strength, elongation at break, and Young's Modulus.
Lab Automation
8 min
What is Tensile Testing & Why it Matters in Materials Labs
This article introduces tensile testing, its applications, common laboratory challenges, and practical solutions for obtaining accurate results.
.webp)